Ep. 21: Interface and Networking Separation - Network Chat Programming
The Cherno
·
Intermediate
·12y ago
Key Takeaways
The video demonstrates interface and networking separation in network chat programming, using tools like JFrame, JPanel, and Eclipse, and applying concepts like OOP, inheritance, and separation of concerns to improve code organization and maintainability.
Full Transcript
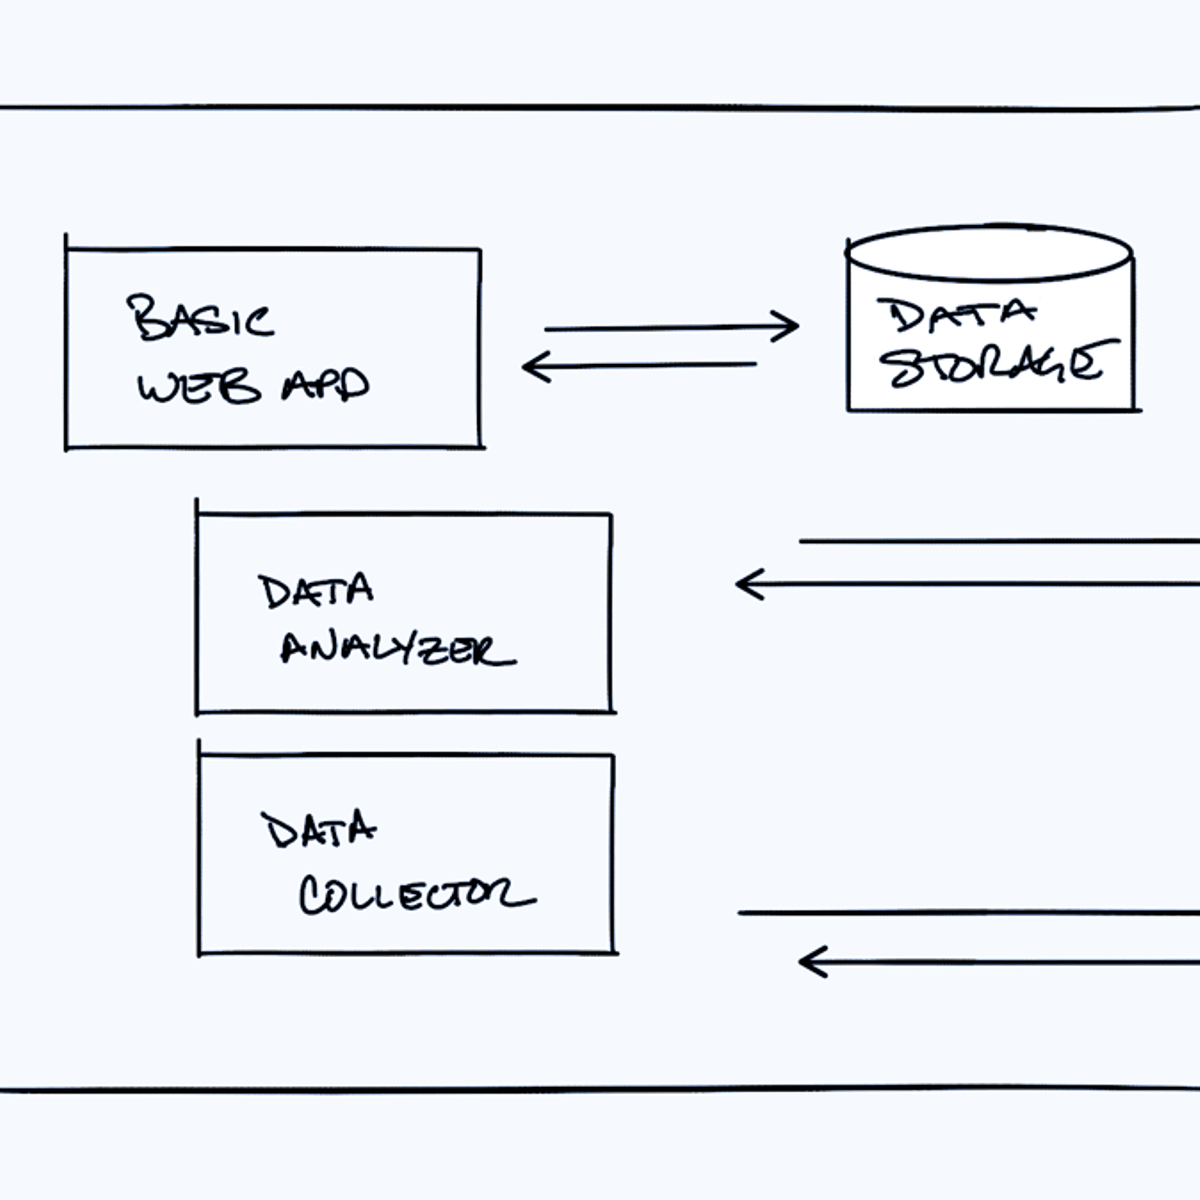
hey what's up guys my name is the Cherno and welcome to episode 21 of network chat programming okay so two things that I want to do today first of all I want to kind of um change around the way that we're kind of doing things and I know that's kind of a big deal sounds like a big deal it's really not but right now what we have going and this isn't what I would normally do but um I just haven't given this much thought I guess uh we've got this uh client uh class yeah client. Java um and in this class we've got two things that I don't like well I guess we've just got two different worlds in one class and that's kind of not a good thing in a way so what we've got going on here is we've got both the behind the scenes kind of back door backend client to server connection stuff and then we've got the front end kind of GUI interface thing and it's not really a good idea to combine the two it's I mean there's no reason to combine the two so it's better to split them up okay and if we do split them up which is what we're actually about to do uh it will become much much more apparent it'll be much easier for you guys to see um the two different worlds the world of the GUI and displaying everything to the interface and the world of the server okay well by the server I mean the client so the world of the the world of the networking that the client handles all the networking methods will be in their own class um and everything else like this uh uh what is it like the the set the send thing will be in its own class as well okay so what we're going to do do is we're going to just right click here on Cho chat and we're going to uh go new class okay so we're just going to create a new class we're going to call this one client window okay or client interface you can call it whatever you like I'm just going to call it client window this is going to be the window of the client okay obviously obviously our main method is going to be copied over there so it's actually not even here it's called login okay oh that that's that's another thing okay then so main the main method is in login cool so over here you can see that we make a new client rather than doing that we're going to make a new client window all right and then the window in turn will create its own client so if that makes sense the window the interface handles the uh the the GUI stuff right so the window which is the GUI has its own actual back end so um that's fine so let's go ahead and uh go into a client I'm actually just going to close all these server server main server client unique identify all this stuff that we don't need I'll close it and just leave the stuff that we do need open so um we'll just grab the entire uh thing over here and we'll just cut that so this this will this episode well the first half at least will involve a lot of uh kind of refactoring right so like copying and pasting changing names stuff like that um and I believe that it extends jframe so let's go ahead do that um and then another big thing is the client itself should not ex extend jframe uh this also will allow um people to have multiple connections which is good so in other words you could have multiple tabs open which connected to multiple chat servers if you so please um this create window method clearly has to get cut all this stuff like there's no point having all this in uh in in like the client with along with amongst the client networking code like that just sounds weird um so let's import all that you can see we just imported about 50 things uh let's go back I just hit command shift o there by the way or control shift o if you're on Windows um and we'll grab so let's see over here so pretty much all of this Okay so we've got this is nicely divided actually I divide this pretty nicely we've got the the the networking stuff and then we've got the interface stuff so we'll cut the interface stuff and we'll paste it into here so that we get our J panel and everything else we need all of our text Fields um and then uh open connection will of course stay in um open connection will of course stay in the client class so receive send and okay so console won't um and sand waren actually as well because sand actually calls this send method which is the real sand method but this is that send method just allows us to send something so we won't do that uh we'll go over here and paste that into here wonderbar as uh vundabar as the uh as the German folk would say now um we've also got stuff like name address and Port I'm actually going to leave that in here and you'll see why in a minute instead of setting this do name to name this address to address we're not going to do any of that stuff we're just simply going to uh pass that along to the client that we created in a minute here um now let's see we don't have any errors in here so I think we're done so we've got a lot of imports here that we don't need you can see they're all highlighted in uh in in like they're underlined in yellow here um if you you can delete them manually or you can just go command shift o again or control shift o on Windows and as you can see that will just sort everything out so that's eclipse's organized Imports thing um if you're using another IDE it should have a similar thing of course now um let's get into this I hope that now woke you up cuz that peaked really really high on my uh little audio recorder here but um what we're going to do now is create a client right so this is a client window in fact we got to change the Constructor name to client Widow client window okay um and so we've got all this stuff here and you can see this referen is a lot of method from the client right so we've got something like this send method here which sends the attempting connection thing we've got uh we've got this opening connection got all these all these things so what we need to do here is of course create a client so client window will have an instance of a client okay private client client um and this client of course will will enable the window to connect so what we need to do is uh when we do start this thing the first thing we should do is go ahead and go client equals new client so we're creating a new instance of the client with name address and Port okay and then we can get rid of this all right and uh let's see what that that's giving us so misplaced constructs of course I've forgotten this little semicolon put it in the wrong place like an absolute novice um all right so there's H we actually haven't made a constru oh okay we removed the Constructor that's probably not good so let's go ahead and create a a Constructor so public client string name uh string address and inport I'm going to be pretty lazy here and just uh simply copy some of these things so I think let's see that stuff the connect is open connection that's fine oh okay that that's pretty easy then isn't it okay so all we need to do is um is oh we have to set up that uh socket and the onnet address thing but we but basically let's just go ahead and uh go ahead and say this do name equals name this do um address equals address equals address and this. Port equals Port all right um and then with that let's see um all right so in open connection now we can just simply type client. open connection okay um and I think that method is uh private so okay we'll have to go ahead and make most of these things public here so copy paste the public pretty much everywhere okay um keep the fields private though uh over here in this send thing we can go ahead and call client. send um I'm just checking to see if there's any actual important stuff now why do we actually create this so client. open connection so open connection okay open connection is what actually creates this socket as you can see now um I I'm just thinking that might not be the best way you have this like entire thing here um we we'll leave it as that for now cuz we've kind of designed it that way you could put you could move the open connection into the Constructor for client thus by creating a client you're actually opening the connection but uh we'll keep it as that for now just cuz that's the way it is that's the way the cookie crumbles um so name okay this is where we have to make a few methods in uh clients so what we have to do is make a nice string a getter here so public string get name okay and this will of course as you can probably imagine return uh the name okay we'll also make public string get address which will return address I'm not sure that why why we would use that but uh we do need public in get Port which will return Port okay um oh I guess I guess we could be returning the address for uh if we just wanted to like debug or if we wanted to just print messages to the console so send we change to client. send uh name we change to client. getet name um and I don't think I think that's it okay so we don't have any errors anymore we've got a bunch of uh warnings here okay we have to make sure that we Implement a default serial ID you could do a randomly generated one we don't need that we're not going to be sending this anywhere um we're good okay we should be good um I'm just quickly skiing through this so to test this okay let's just go ahead and go into server and we'll just start a quick server here if you go into server Main and you run that I'm just going to drag this up so you guys can see a bit better so we've we've started a server on that Port brilliant we're going to go into into login and run that and of course that's going to bring this thing up so we'll type in yarn for the name Local Host and 8192 let's hit login let's see what happens you can see we attempt a connection it looks like the server has received our connection here and it's received our name it's assigned an identifier for ourselves if we go ahead and say something hey you can see that this gets three L back to the client thus it works and also the server prints the address so clearly it's receiving some kind of packet here okay that's it I hope you guys enjoyed this episode I'm actually going to cut it there cuz it's like 10 minutes long already um if you guys did enjoy it I would appreciate it if you would hit the like button below cuz that lets me know that you guys are enjoying it of course that makes me happy um next episode we're probably going to cover uh I guess a verification that the client has is actually connected right now we don't see anything the client doesn't we see an attempting a connection but we don't get any kind of confirmation to that so that should probably happen um and after that we'll probably actually work on adding more clients and stuff like that so I hope you guys enjoy this episode of network J programming and I'll see you guys next time [Music] goodbye
Original Description
Be sure to give the video a like if you enjoyed it!
Source code here: http://git.io/1Wf27Q
Twitter ► http://www.twitter.com/thecherno
Website ► http://www.thecherno.com
Facebook ► http://www.facebook.com/thecherno
-------------------------------------------------------------------------------------------------
In this video:
-
-------------------------------------------------------------------------------------------------
Website: http://www.thecherno.com
Twitter: http://www.twitter.com/thecherno
Facebook: http://www.facebook.com/thecherno
Subreddit: http://www.reddit.com/r/thecherno/
Steam Group: http://www.steamcommunity.com/groups/thecherno
-------------------------------------------------------------------------------------------------
Outro music is by Approaching Nirvana: http://www.youtube.com/approachingnirvana
Watch on YouTube ↗
(saves to browser)
Sign in to unlock AI tutor explanation · ⚡30
Playlist
Uploads from The Cherno · The Cherno · 0 of 60
← Previous
Next →
1
 2
2
 3
3
 4
4
 5
5
 6
6
 7
7
 8
8
 9
9
 10
10
 11
11
 12
12
 13
13
 14
14
 15
15
 16
16
 17
17
 18
18
 19
19
 20
20
 21
21
 22
22
 23
23
 24
24
 25
25
 26
26
 27
27
 28
28
 29
29
 30
30
 31
31
 32
32
 33
33
 34
34
 35
35
 36
36
 37
37
 38
38
 39
39
 40
40
 41
41
 42
42
 43
43
 44
44
 45
45
 46
46
 47
47
 48
48
 49
49
 50
50
 51
51
 52
52
 53
53
 54
54
 55
55
 56
56
 57
57
 58
58
 59
59
 60
60

3D Game Programming - Episode 1 - Window
The Cherno
3D Game Programming - Episode 2 - Game Loop
The Cherno
3D Game Programming - Episode 3 - Arrays
The Cherno
3D Game Programming - Episode 4 - Drawing Pixels!
The Cherno
3D Game Programming - Episode 4.5 - How Rendering Works
The Cherno
3D Game Programming - Episode 5 - Playing with Pixels!
The Cherno
3D Game Programming - Episode 6 - Performance Boosting
The Cherno
3D Game Programming - Episode 7 - FPS Counter
The Cherno
3D Game Programming - Episode 8 - Alpha Support and More
The Cherno
3D Game Programming - Episode 9 - Beginning 3D
The Cherno
3D Game Programming - Episode 10 - Floors and Animation
The Cherno
3D Game Programming - Episode 11 - Rotation
The Cherno
3D Game Programming - Episode 12 - User Input
The Cherno
3D Game Programming - Episode 13 - Render Distance Limiter!
The Cherno
3D Game Programming - Episode 14 - Basic Mouse Movement
The Cherno
3D Game Programming - Episode 15 - Textures + More!
The Cherno
3D Game Programming - Episode 16 - Walking, Crouching, Sprinting + More
The Cherno
3D Game Programming - Episode 16.5 - Exporting Runnable Jars
The Cherno
3D Game Programming - Episode 17 - Small Adjustments + Birthday!
The Cherno
3D Game Programming - Episode 17.5 - Creating an Applet
The Cherno
3D Game Programming - Episode 18 - The Beginning of Walls
The Cherno
3D Game Programming - Episode 18.1 - A Few More Things
The Cherno
Episode 18.5 - Creating an EXE File in Java
The Cherno
3D Game Programming - Episode 19 - Rendering Walls
The Cherno
3D Game Programming - Episode 20 - Continuing Walls, Fixing Bugs, and Managing Crashes
The Cherno
3D Game Programming - Episode 21 - Texturing Walls, Fixing Clipping, and Fixing the Mouse
The Cherno
3D Game Programming - Episode 22 - Random Level Generator + Properly Fixing Clipping
The Cherno
3D Game Programming - Episode 23 - Graphical User Interface (GUI) Launcher
The Cherno
3D Game Programming - Episode 24 - Making Our Launcher Work
The Cherno
3D Game Programming - Episode 25 - Writing and Reading Files
The Cherno
3D Game Programming - Episode 26 - Custom Resolutions
The Cherno
3D Game Programming - Episode 27 - Decorating the Launcher
The Cherno
3D Game Programming - Episode 28 - Continuing our Custom Launcher!
The Cherno
3D Game Programming - Episode 29 - Launching The Game
The Cherno
3D Game Programming - Episode 30 - Colour Processing In-Depth
The Cherno
3D Game Programming - Episode 31 - Sprites!
The Cherno
3D Game Programming - Episode 32 - Sprite Mapping
The Cherno
3D Game Programming - Episode 33 - High Resolution Rendering
The Cherno
3D Game Programming - Episode 34 - Entities
The Cherno
Genesis - My Game for Ludum Dare 24
The Cherno
Vlog + Ludum Dare Results
The Cherno
Game Programming - Episode 1 - Resolution
The Cherno
Game Programming - Episode 2 - Threads
The Cherno
Game Programming - Episode 3 - Game Loop
The Cherno
Game Programming - Episode 4 - Window
The Cherno
Episode 5 - Buffer Strategy
The Cherno
Game Programming - Episode 6 - Graphics Initialized
The Cherno
Game Programming - Episode 7 - Buffered Image and Rasters
The Cherno
Game Programming - Episode 8 - The Screen Class
The Cherno
Game Programming - Episode 9 - Rendering Pixels
The Cherno
Game Programming - Episode 10 - Clearing the Screen
The Cherno
Game Programming - Episode 11 - "Out of Bounds, Baby!"
The Cherno
Game Programming - Episode 12 - Negative Bounds
The Cherno
Game Programming - Episode 13 - Timer
The Cherno
Game Programming - Episode 14 - FPS Counter
The Cherno
Episode 15 - Tiles
The Cherno
Game Programming - Episode 16 - The Map
The Cherno
The Walls 2 - Minecraft PvP Survival Map
The Cherno
Game Programming - Episode 17 - Key Input
The Cherno
Game Programming - Episode 18 - Controlling The Map
The Cherno
More on: Distributed Systems
View skill →







🎓
Tutor Explanation

 DeepCamp AI